 Apiary HQ
Sign in with your Apiary HQ account to view setup instructions.
Apiary HQ is a web app, not something you download from an app store. Installing it just means adding a shortcut to your Home Screen or desktop that opens it full-screen, like any other app -- and lets it work offline and send you push notifications.
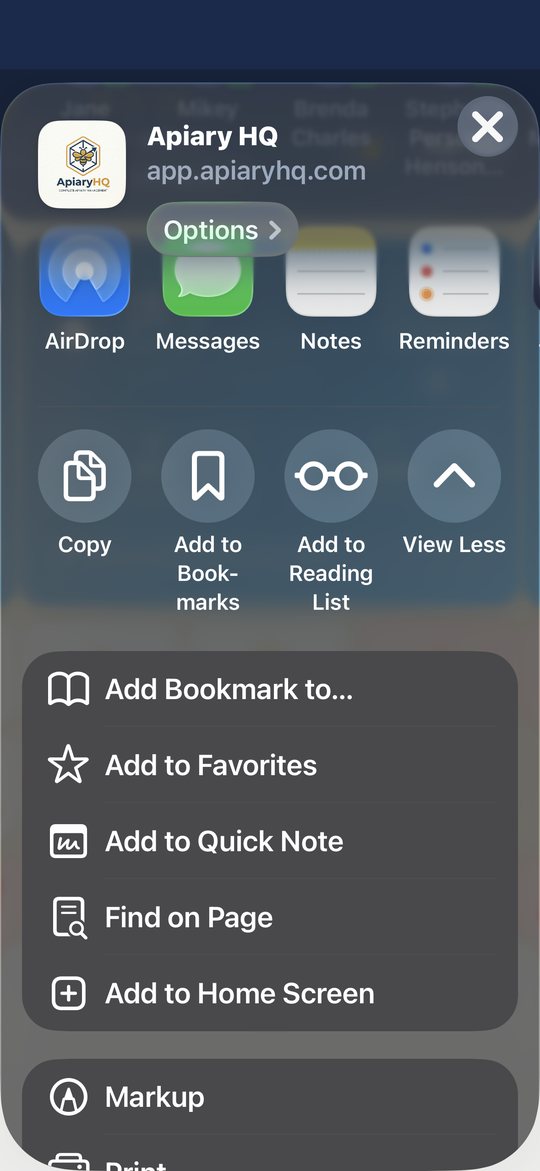
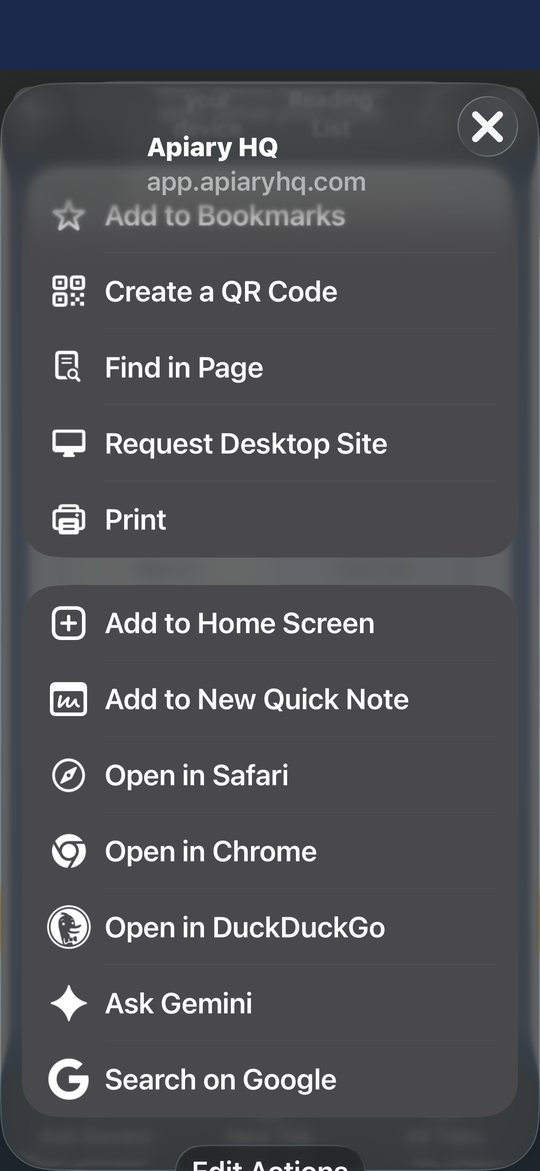
On iOS 26 and later, Chrome can install the app too -- it just takes one extra tap to get there since the option is tucked further into the menu. On older iOS versions, use Safari instead.
No Android device on hand to capture this from -- written from Chrome's current documented steps rather than a real screenshot. If anything here doesn't match what you actually see, that's worth flagging.
Screenshot needed: the install icon in the address bar.
Requires macOS Sonoma or later.
Screenshot needed: the File menu with "Add to Dock" visible.
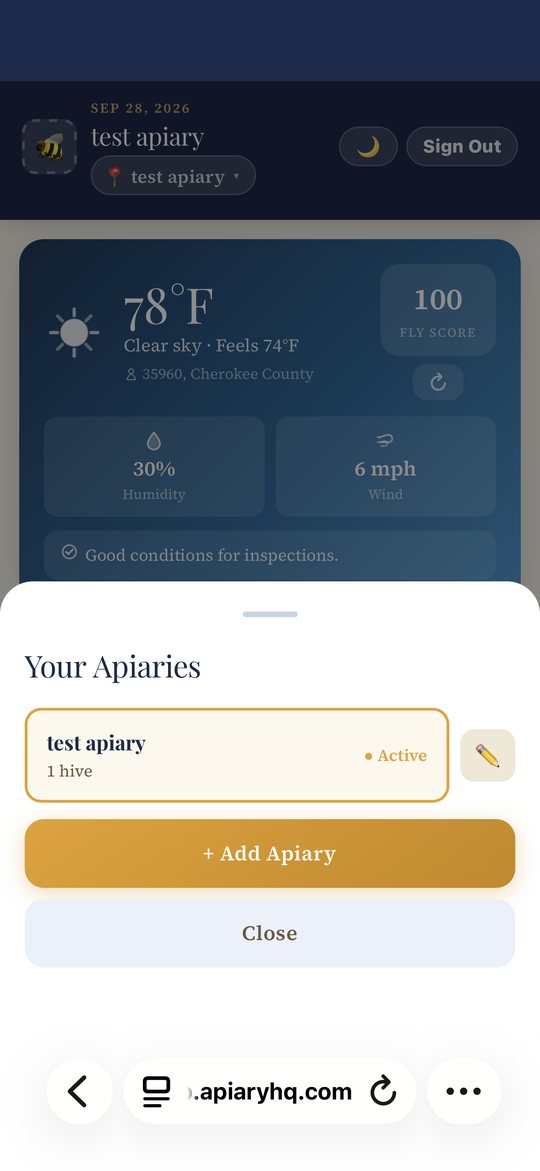
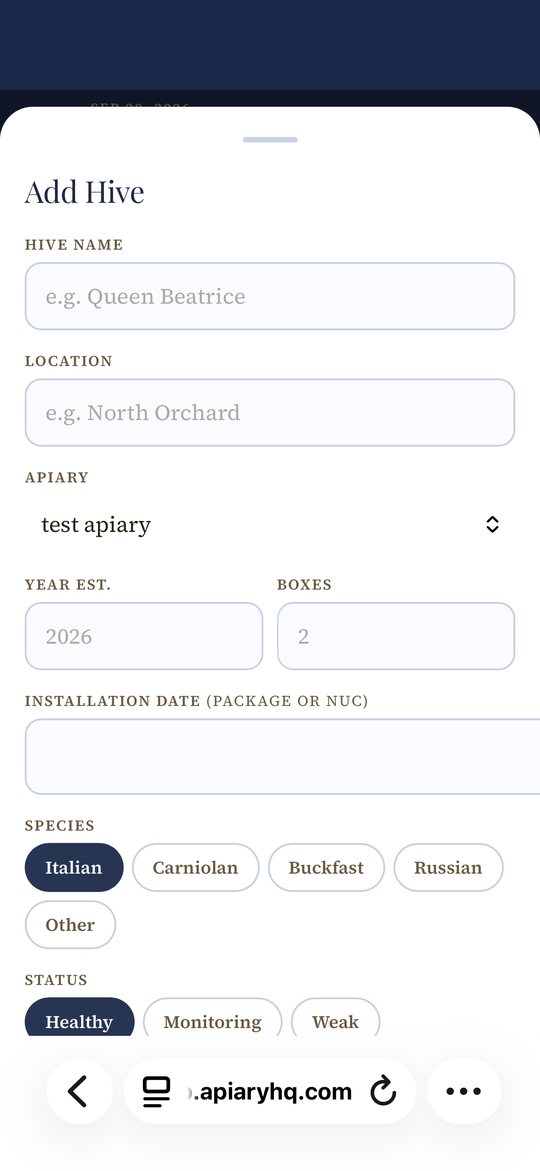
An apiary is a location -- a yard, a property, a spot where one or more hives live. Every hive belongs to an apiary, so you'll want at least one apiary before adding your first hive.
The inspection form is where most of what the app knows about a hive comes from -- population, brood, queen status, Varroa, small hive beetle, and more. You don't have to fill in everything every time; the fastest path is talking through what you saw and letting dictation fill in the rest.
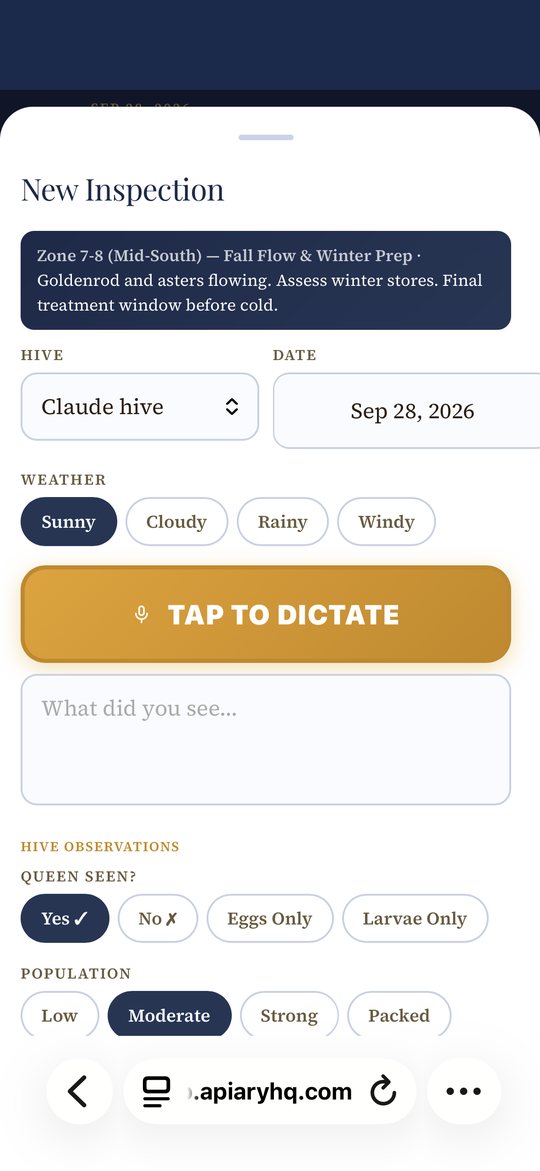
This is the fastest way to log an inspection. Talk through what you saw, frame by frame, and the app fills in and suggests values for the structured fields below as you go.
Screenshot needed: the dictate button, before or during a recording.
These fill in from dictation, but you can also set or correct any of them by hand.
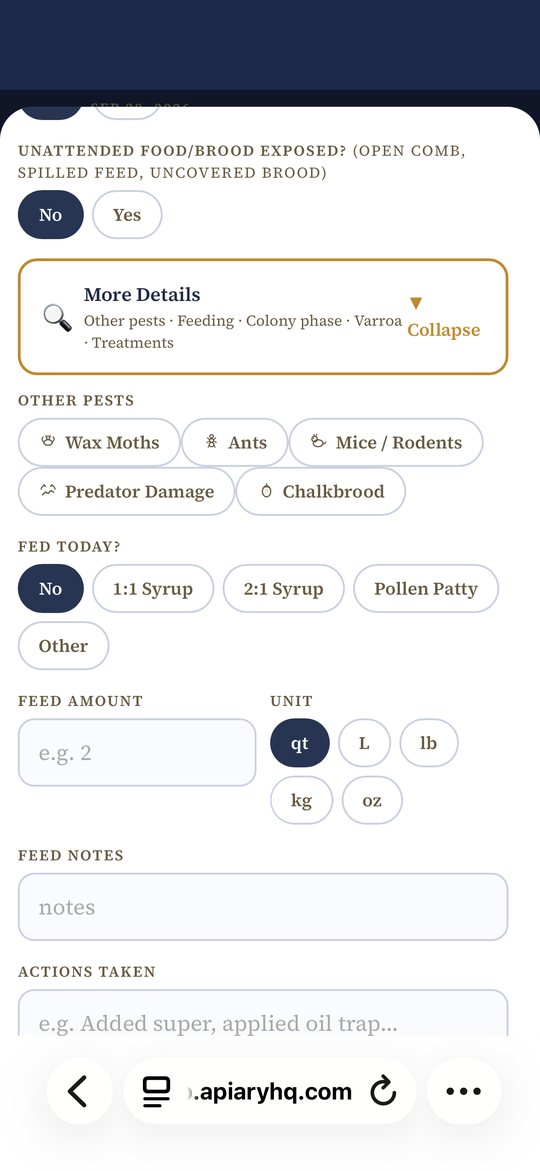
Tap the "More Details" banner to expand this section. It's collapsed by default since most visits won't need all of it.
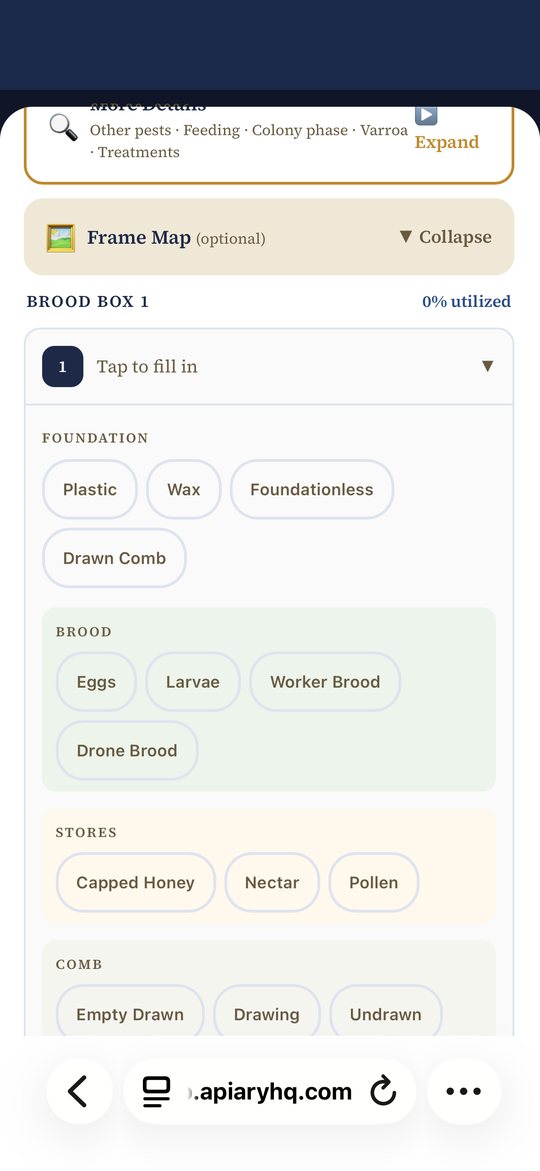
A separate, collapsed-by-default section below More Details. Track each frame individually if you want that level of detail -- most visits don't need it, but it's there when you do.
Track income and expenses per apiary, attach receipt photos, and export your records at tax time.
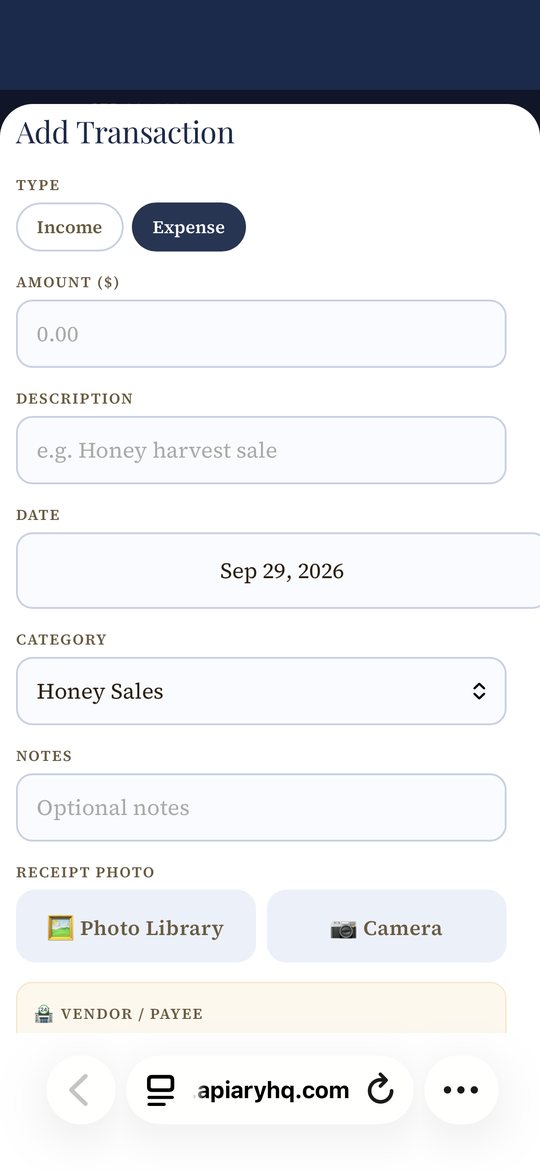
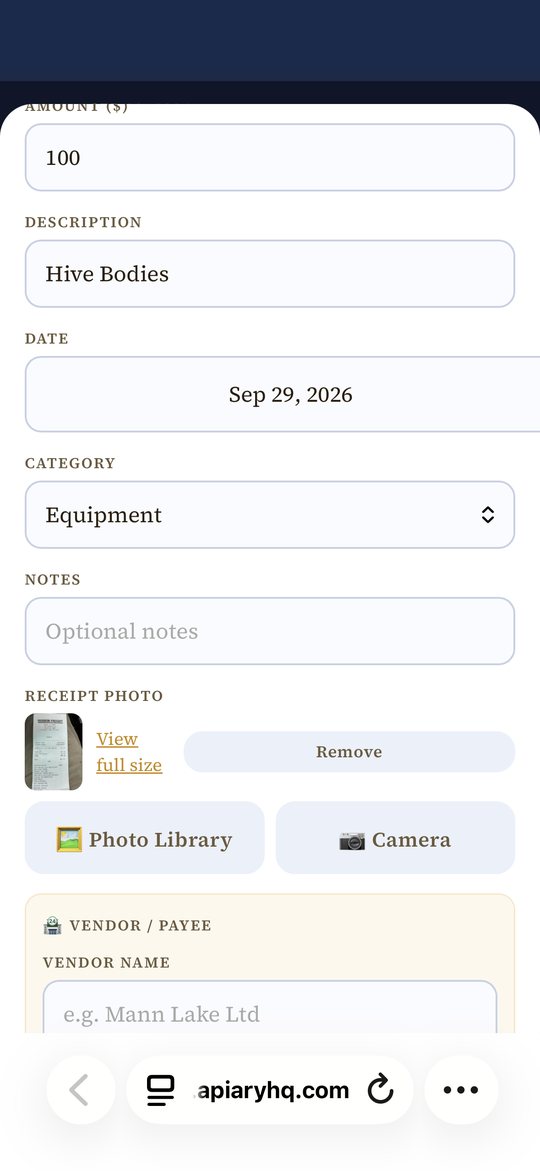
Optional, and worth using if you buy from the same suppliers regularly.
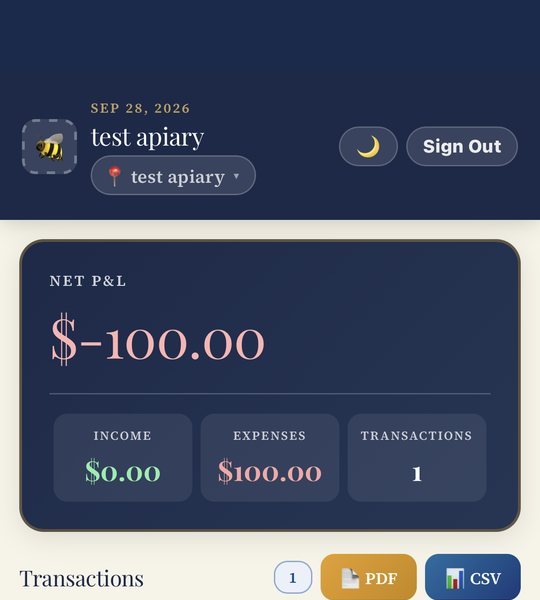
Both exports cover your transaction history, useful for taxes or your own bookkeeping.
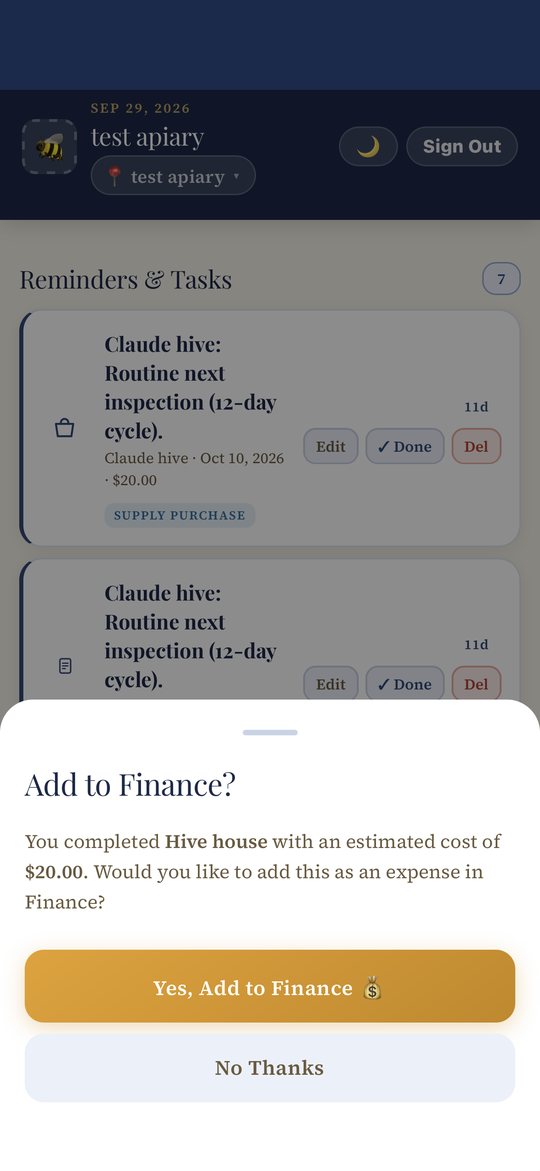
A nice shortcut: completing a Supply Purchase or Treatment reminder that has a cost attached offers to add it straight to Finance as an expense -- vendor info comes along too, if that reminder was linked to a supplier -- so you don't have to re-enter it by hand.
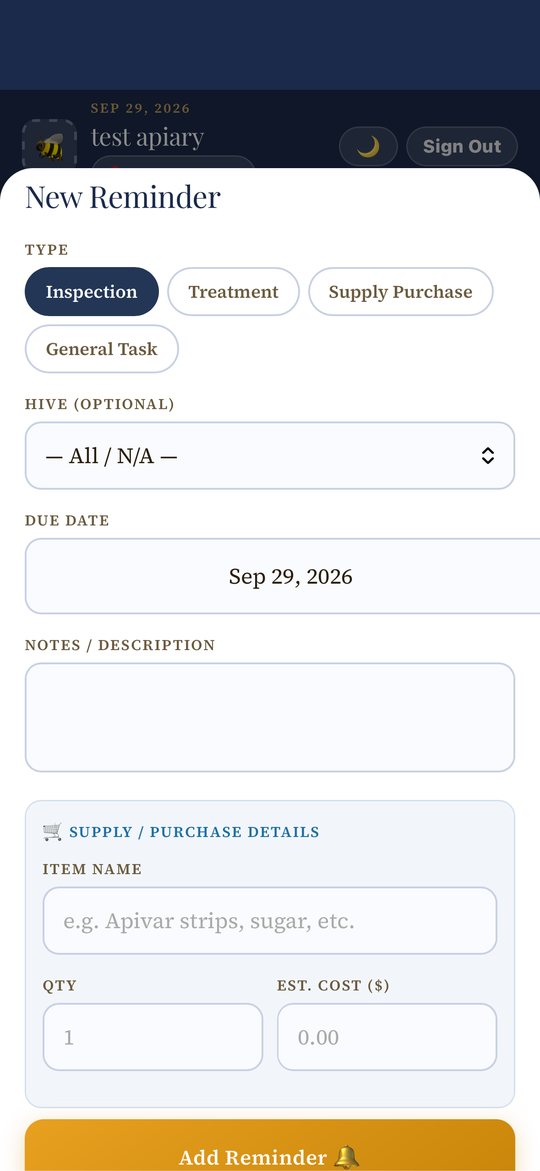
Most reminders you'll see aren't ones you set yourself -- the app generates them automatically from what you record in an inspection. You can also add your own for anything the automatic system doesn't cover.
These come from what you actually record on an inspection -- you don't set them, they just appear when the numbers call for it.
Two sub-tabs live under Docs: Documents for licenses and paperwork, and Brand Assets for logos and marketing graphics. Switch between them with the sub-tabs at the top -- the orange + button follows whichever one you're on.
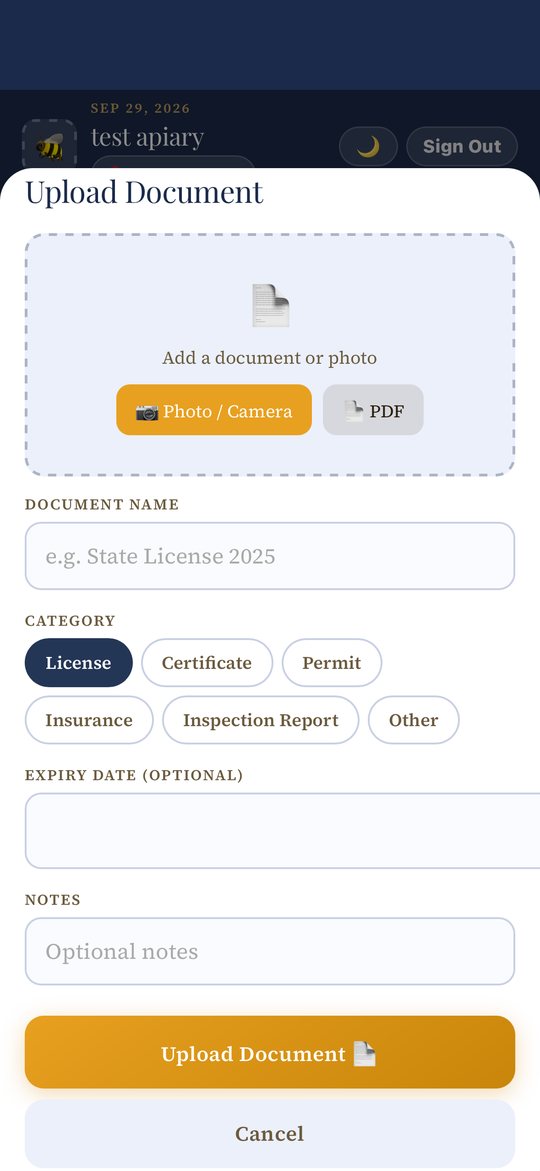
For your own logos, label designs, and marketing graphics -- separate from regulatory paperwork, and accepts JPG, PNG, SVG, or GIF.
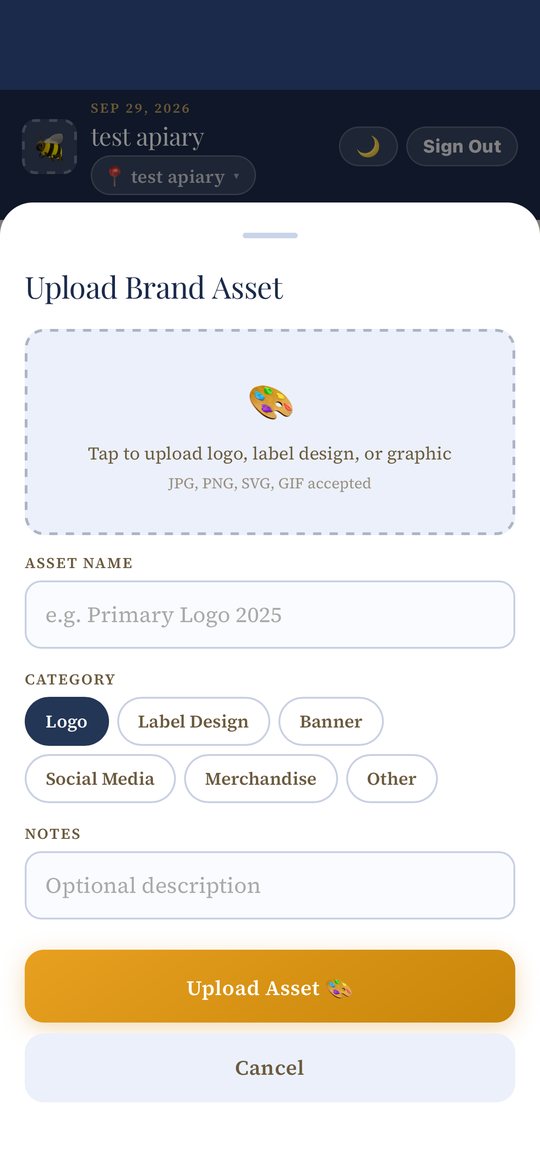
A simple address book for everyone connected to your beekeeping -- suppliers, vets, inspectors, customers, and fellow beekeepers.
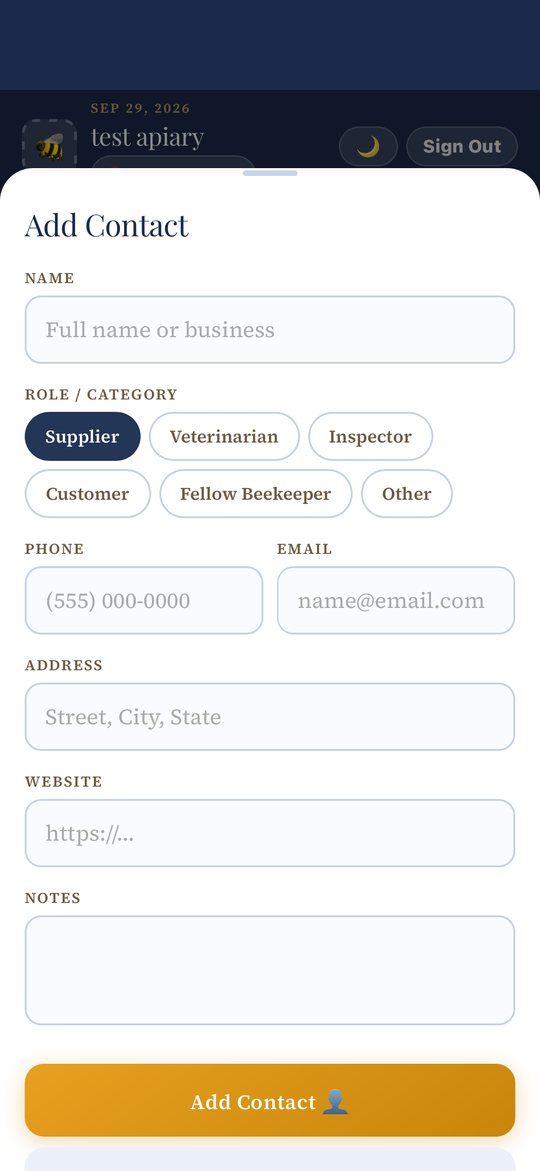
Filter the list by role at the top of the Contacts tab -- handy once you've built up a mix of suppliers, vets, and customers.
Contacts marked as Supplier appear as selectable options in Finance's Vendor / Payee section and in Reminders' Supply Purchase details. Typing a new vendor name in Finance that isn't already a contact creates one here automatically, saved as a Supplier.
Two sub-tabs: Reference, a built-in library you don't have to fill in yourself, and My Notes, a place to save your own.
Six sections, each opening into expandable cards: Pests & Diseases, Varroa Mite Treatments, Non-Chemical Controls, Feeding Guide, Feeding Supplements, and Syrup Mixing Guide.
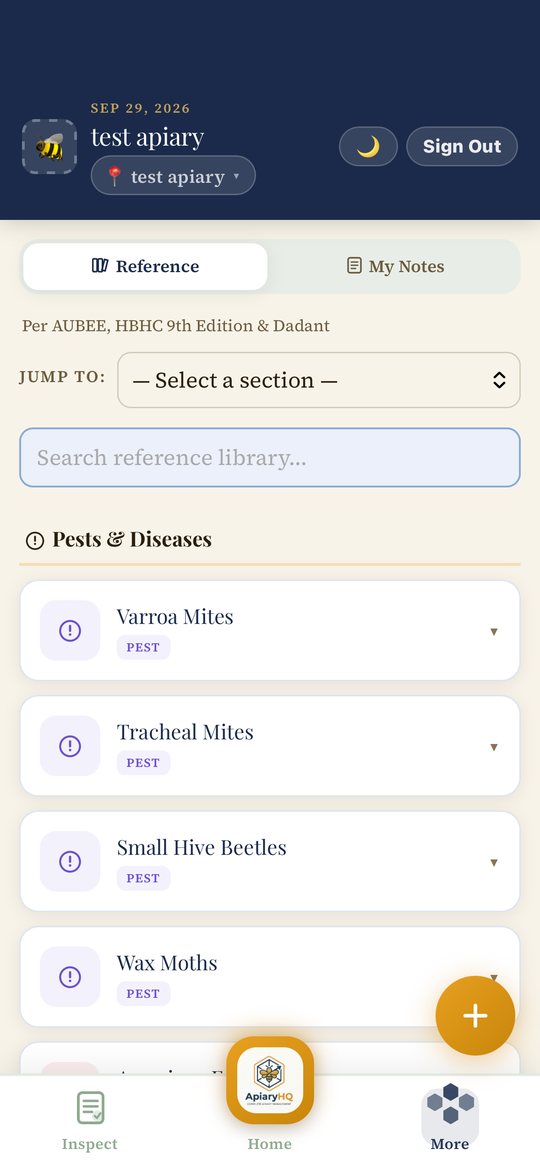
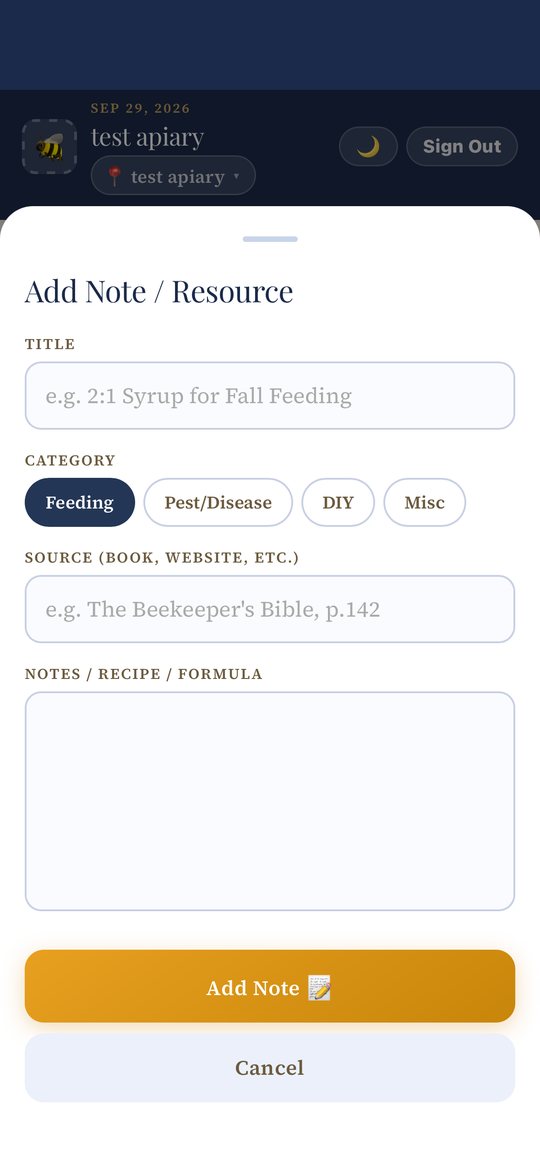
Your own saved reference material -- a recipe you use, a tip from a book, anything worth keeping alongside the built-in library.
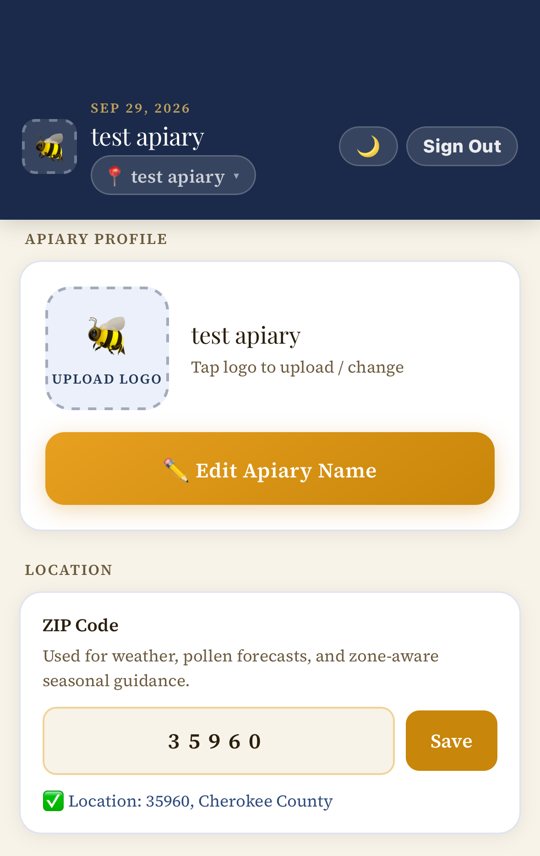
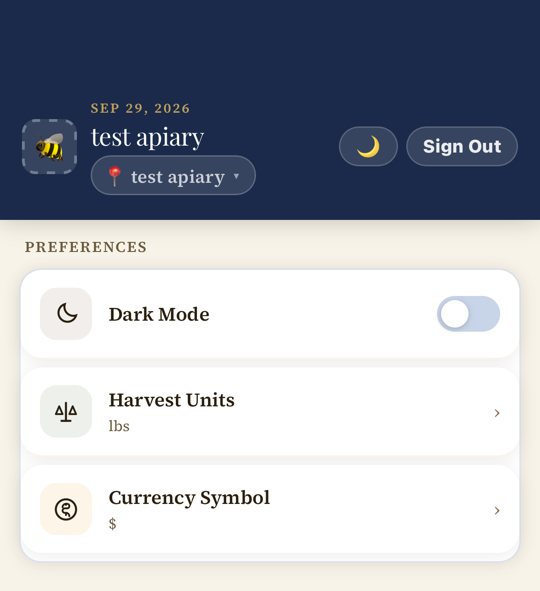
Everything about your account and how the app behaves lives here, in one scrolling page.
Tap the logo area to upload or change your apiary's photo, and tap Edit Apiary Name to rename it. Your ZIP Code drives weather, pollen forecasts, and zone-aware seasonal guidance throughout the app -- enter it and tap Save.
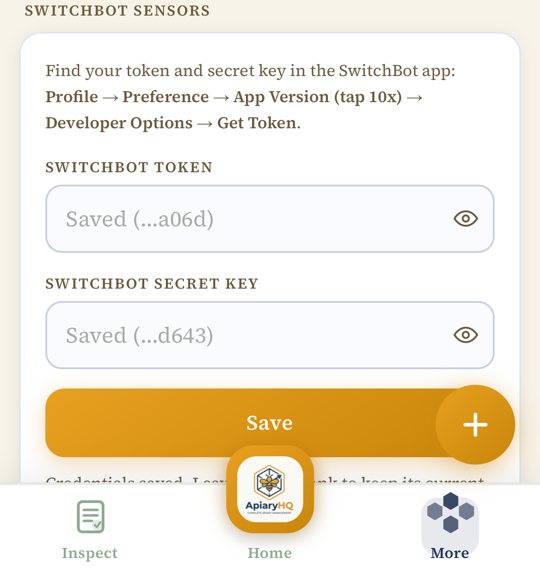
Your token and secret key go here. Full walkthrough in the next section.
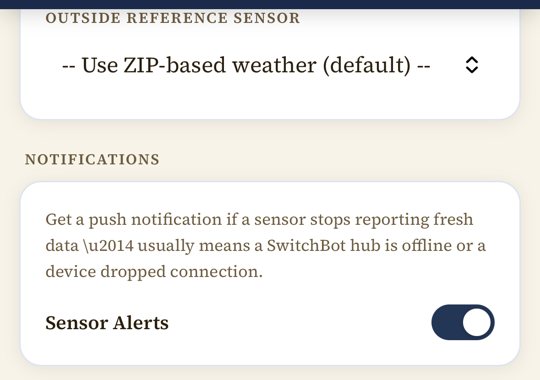
By default, "outside" readings come from the nearest weather station for your ZIP code -- close, but not the actual conditions at your apiary. If you have a spare SwitchBot sensor, place it outside near your hives and set it here instead for real on-site readings. Turning this on stops the ZIP-based lookup entirely, so you're not storing both at once.
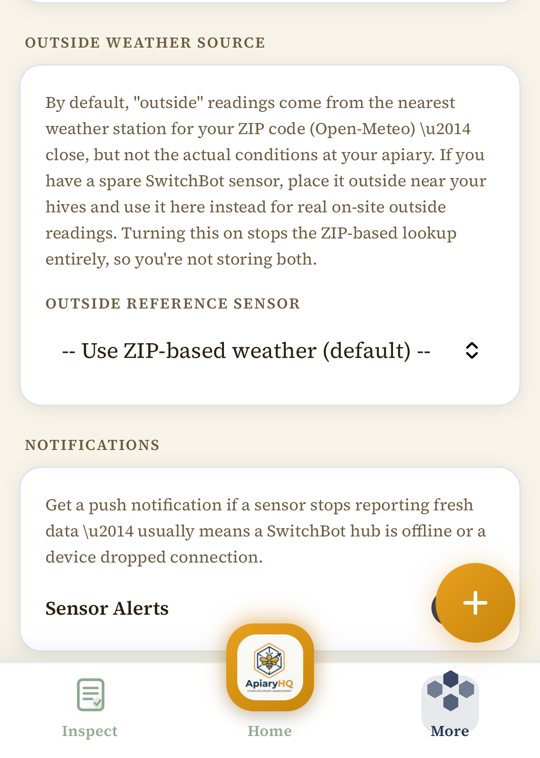
Turn on push notifications here to be alerted if a sensor stops reporting fresh data -- usually means a SwitchBot hub went offline or a device dropped connection.
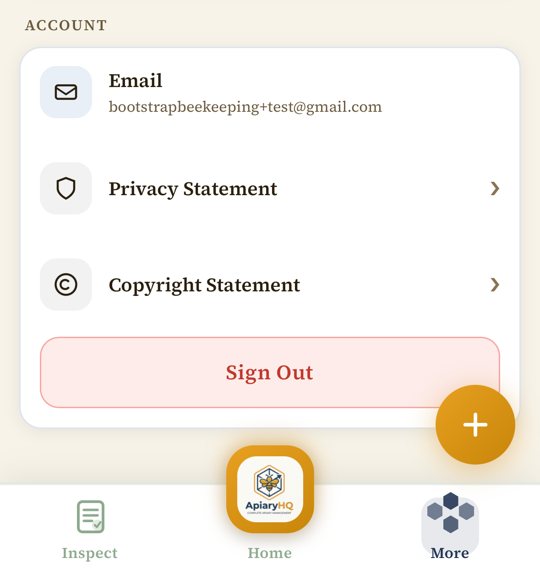
Your email, the Privacy and Copyright statements, and Sign Out all live at the bottom.
Apiary HQ works with SwitchBot indoor/outdoor thermo-hygrometer sensors for real in-hive climate tracking -- temperature, humidity, and vapor-pressure deficit. Setup happens in two places: your SwitchBot account connects once in Settings, then each hive gets its own device assigned individually.
This part happens entirely in the SwitchBot app, before Apiary HQ is involved at all. You need a Hub Mini (or Hub 2) plus at least one Indoor/Outdoor Thermo-Hygrometer sensor -- the sensor alone can't reach Apiary HQ without a hub relaying it to the cloud.
Give it about 30 minutes after first setup -- the sensor self-calibrates and early readings can be unstable.
Screenshot needed: adding the sensor in the SwitchBot app, and its Cloud Service toggle.
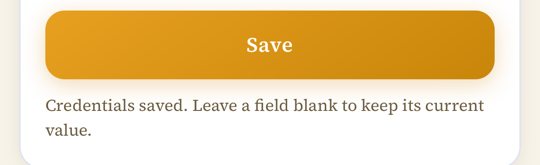
Once saved, both fields show as masked -- you only need to re-enter a field if you're actually changing it.
Your account can hold several SwitchBot devices, but each one has to be told which hive it belongs to -- that happens from inside the hive itself, not from Settings.
Screenshot needed: the Sensor Device dropdown and Sensor Polling toggle from inside a hive's edit form.
Optional. Useful for tracking a gradient inside the hive -- one sensor lower in the brood nest, one higher up.
Both feed into the same climate chart, kept distinct as primary and secondary.
Covered in Settings (Section 9) -- if you have a spare sensor, placing it outside near your hives gives you real on-site outside readings instead of the default ZIP-code-based weather lookup.